Showing posts with label paper crafts. Show all posts

Monday, September 8, 2014

Sewing Layers

2014_0830_084b

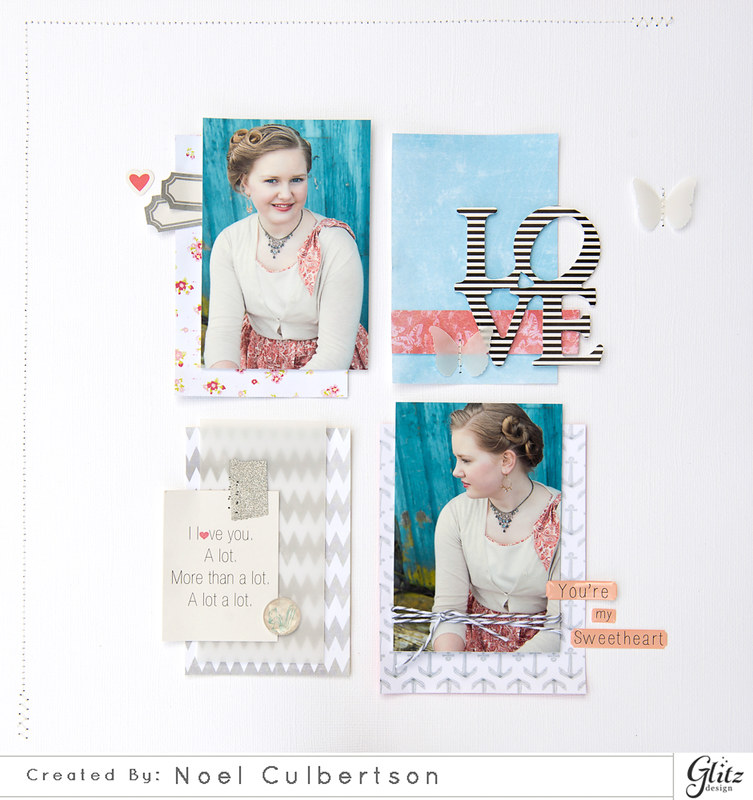
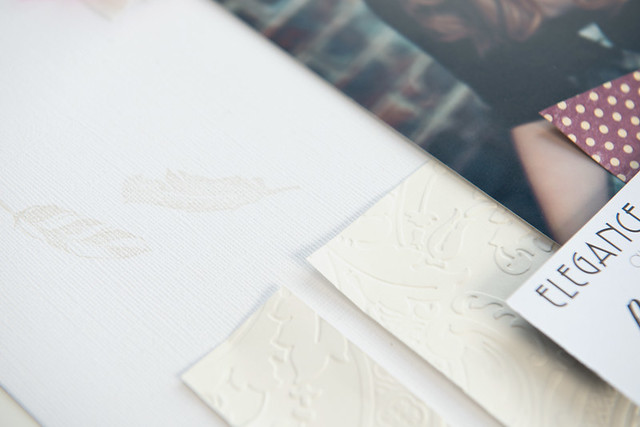
Hello again! Lately I've noticed lots of sewn strips and layers in my collection of lovely paper crafting pins on Pinterest. Sewing the layers to projects gives them some texture with the added bonus of keeping them affixed to your layout forever! 

2014_0830_030a

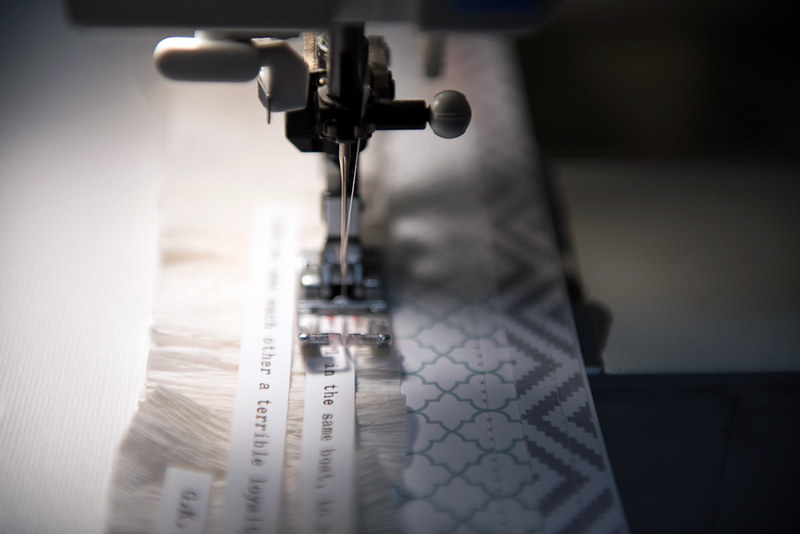
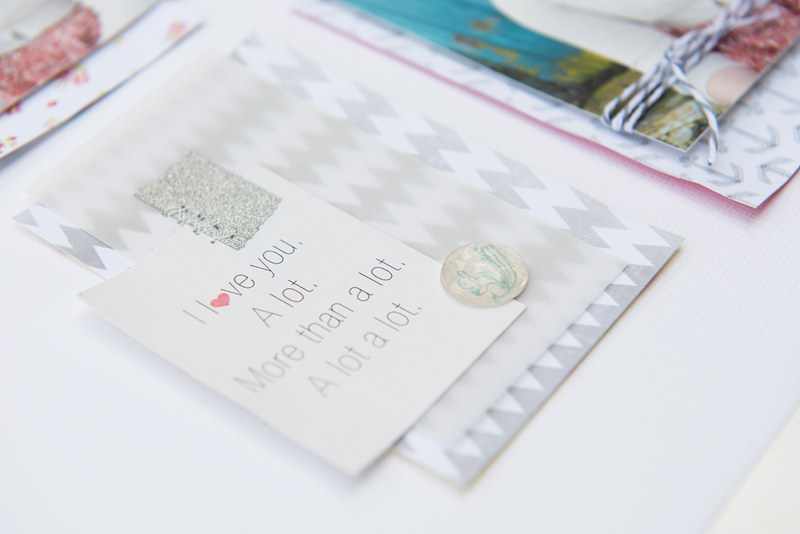
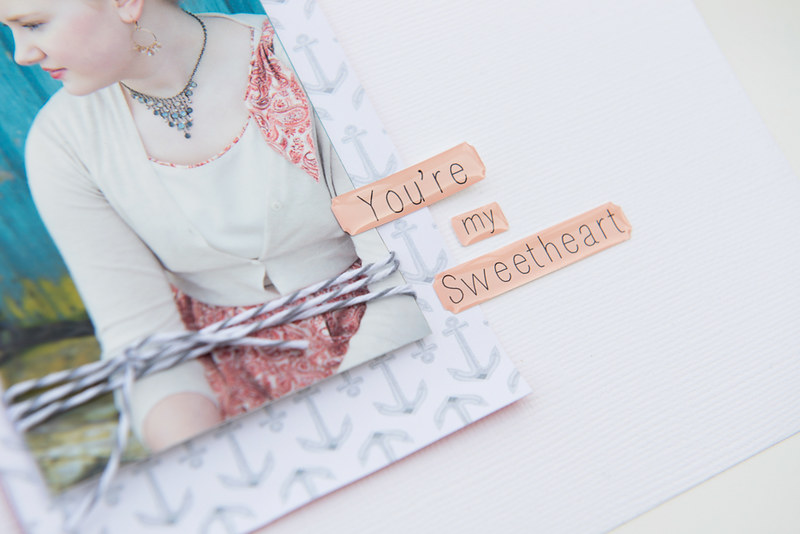
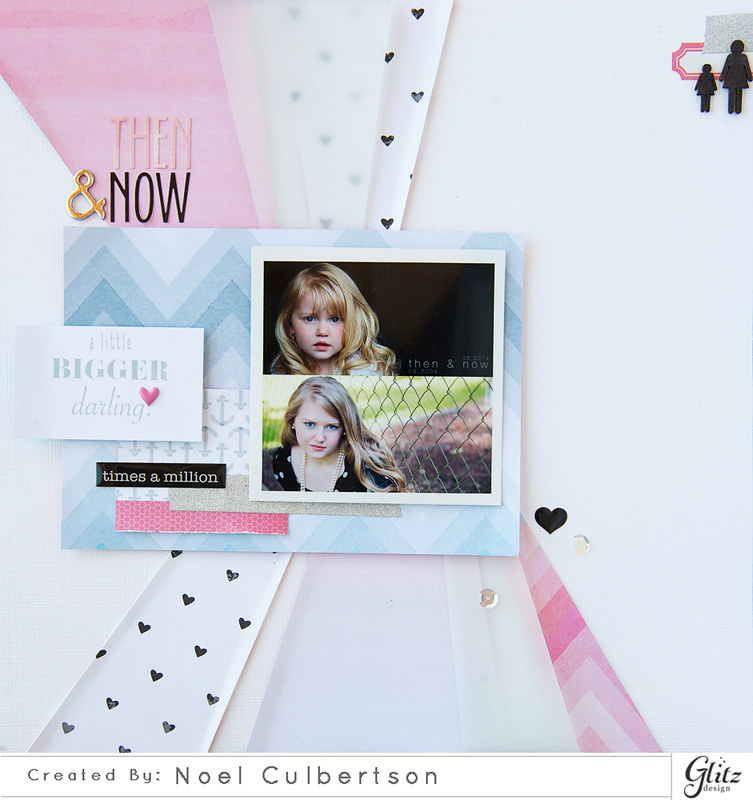
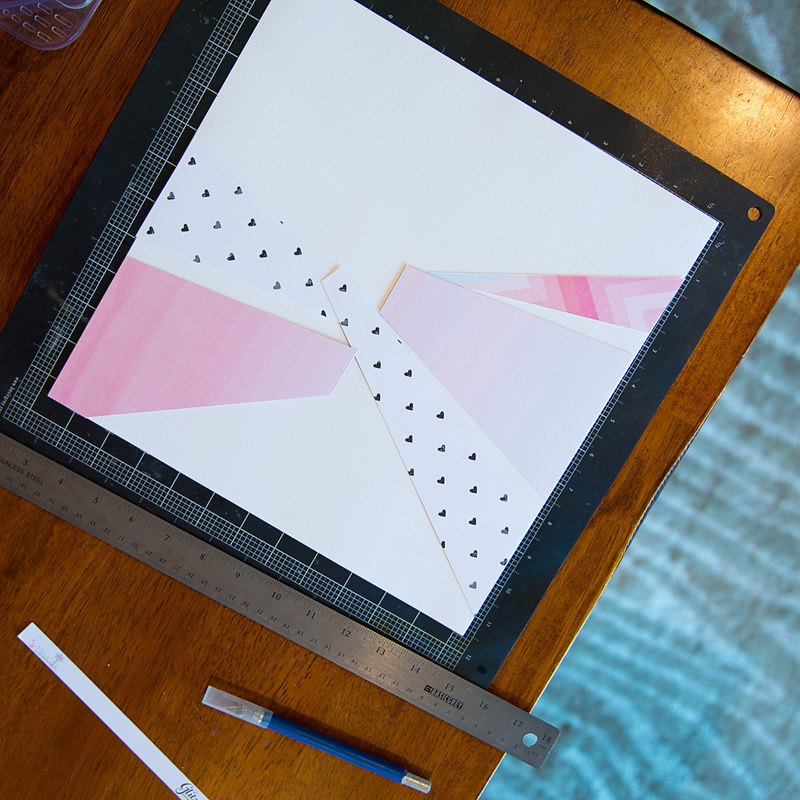
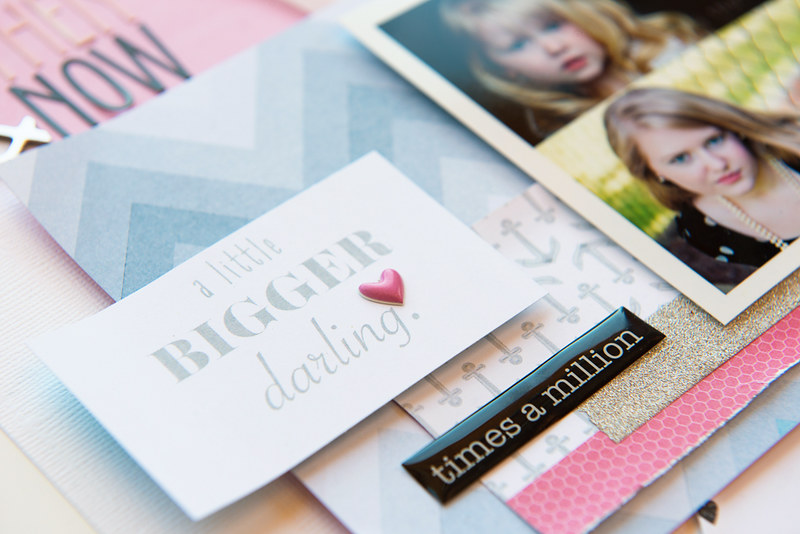
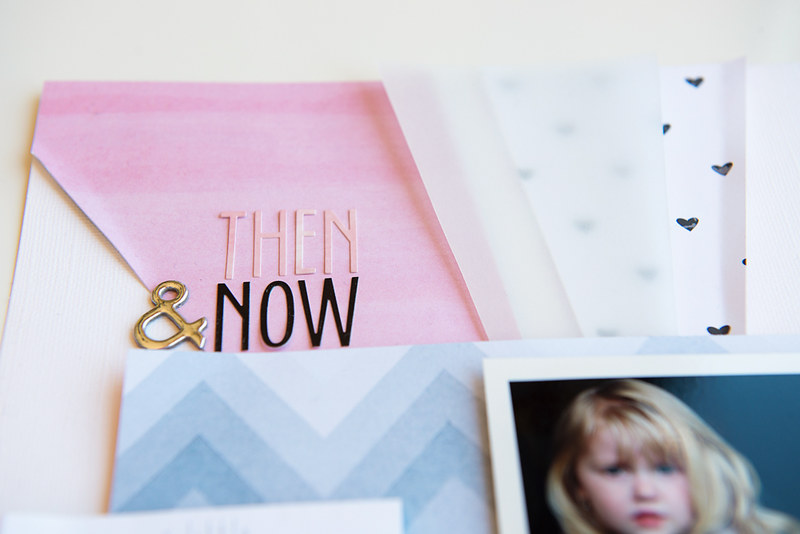
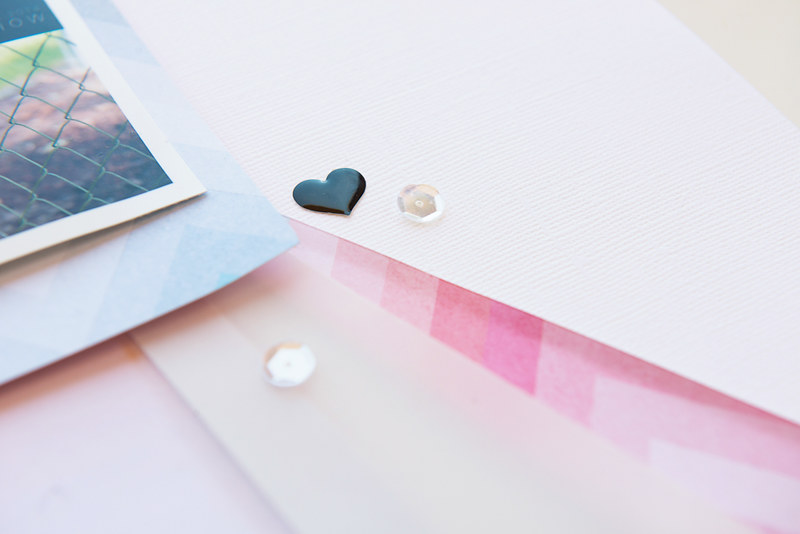
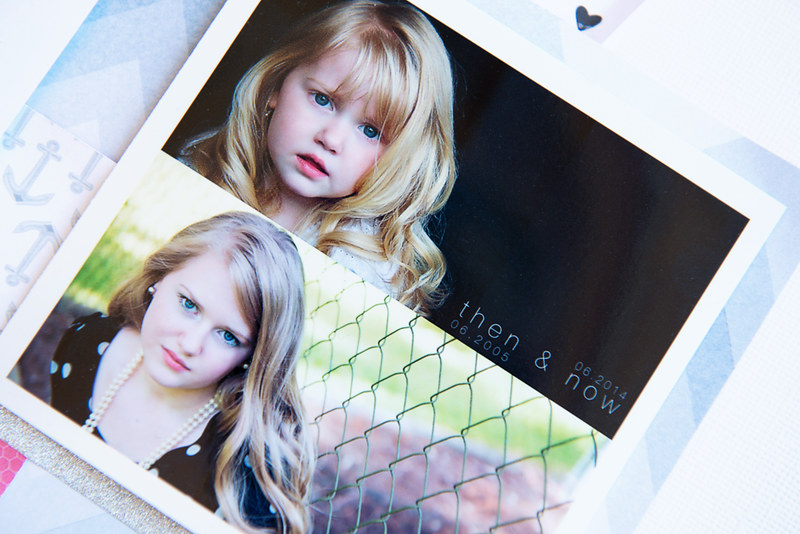
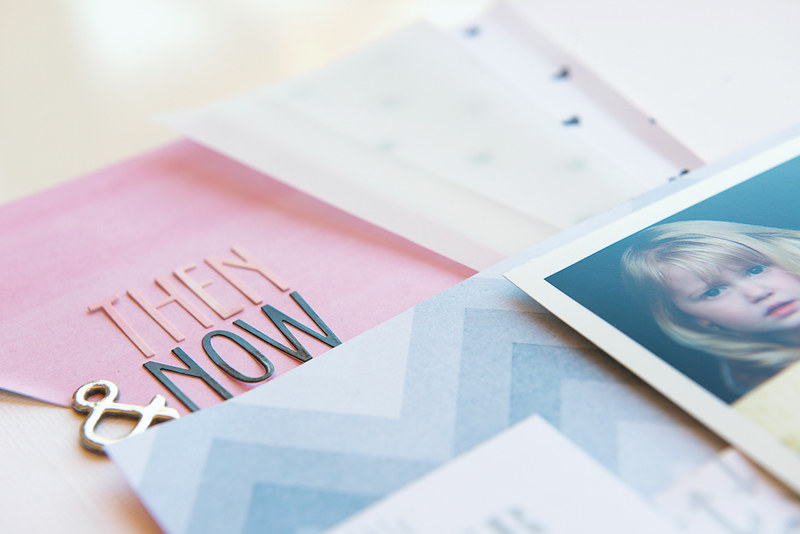
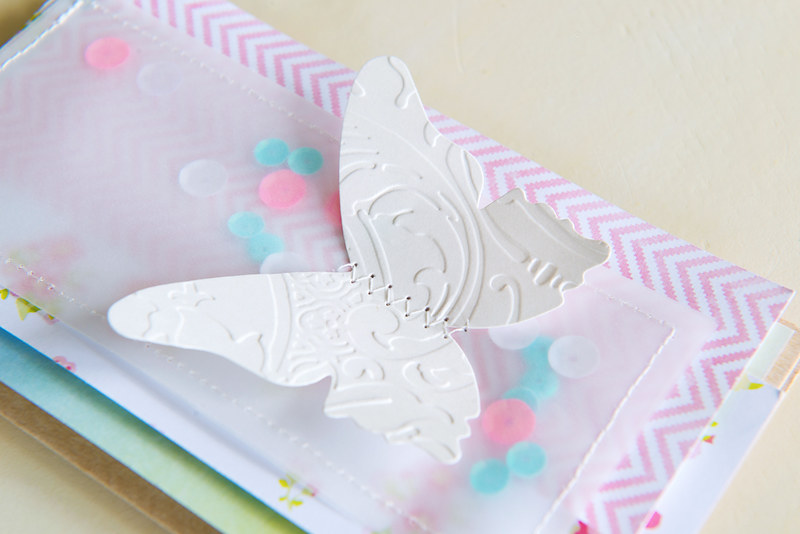
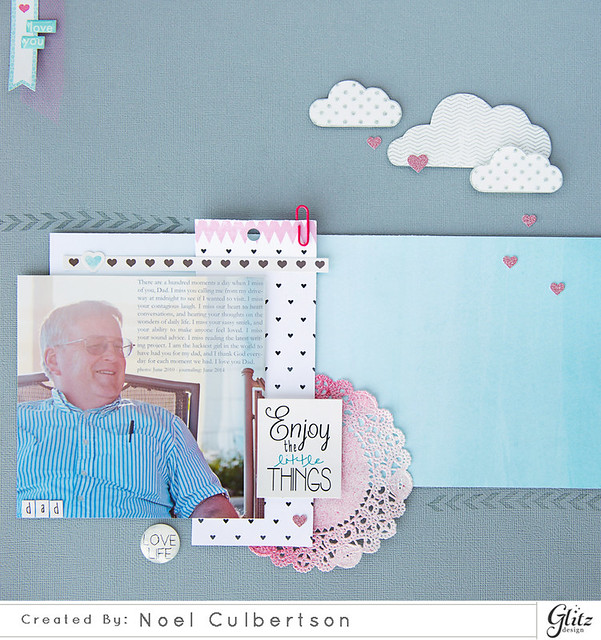
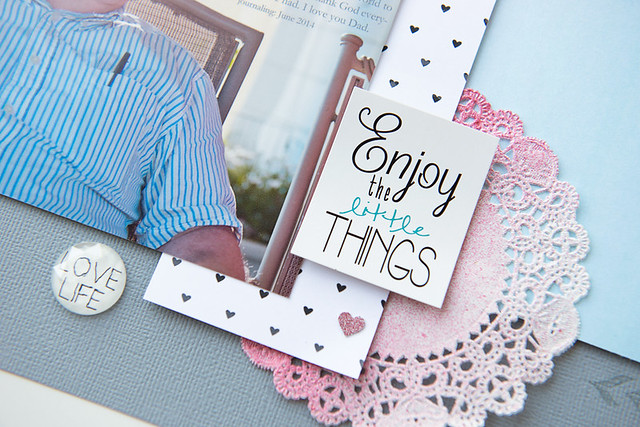
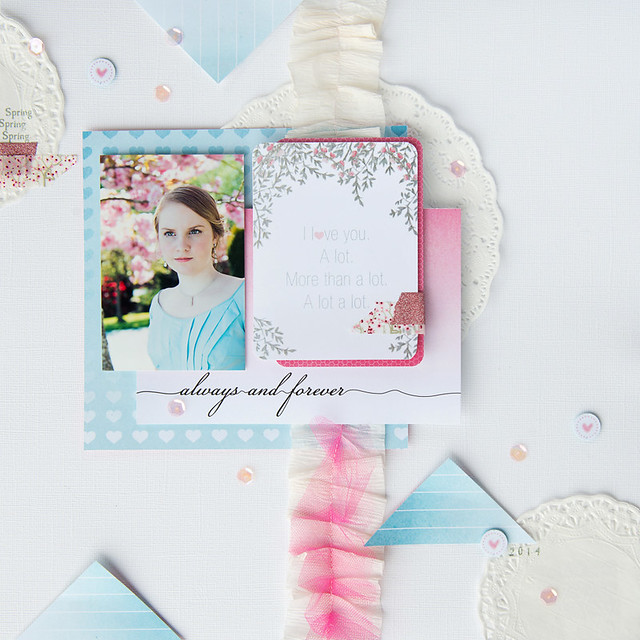
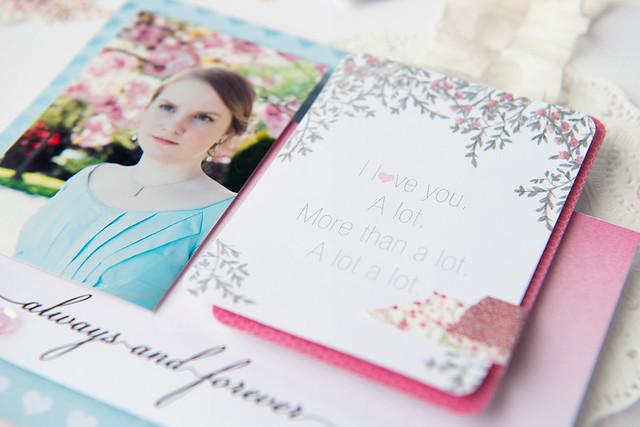
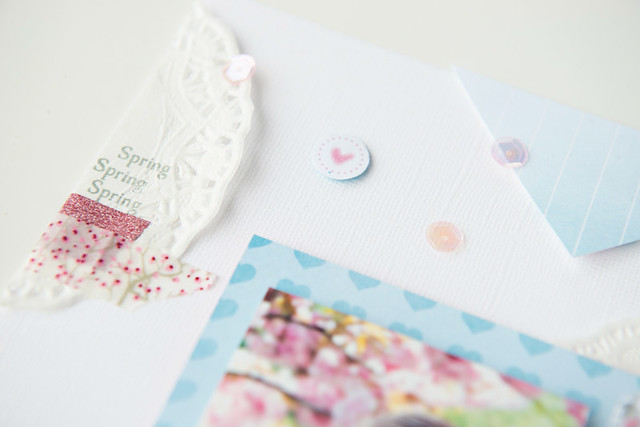
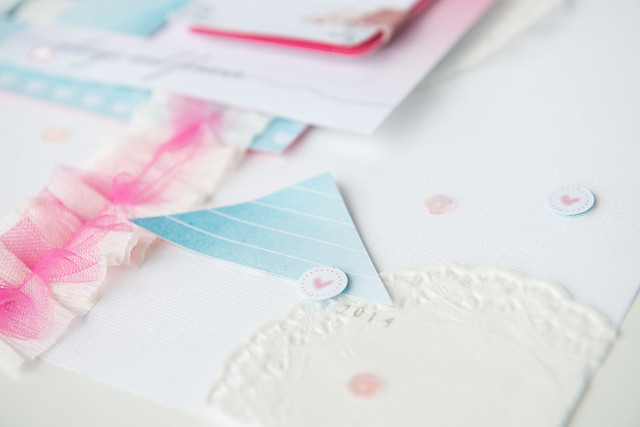
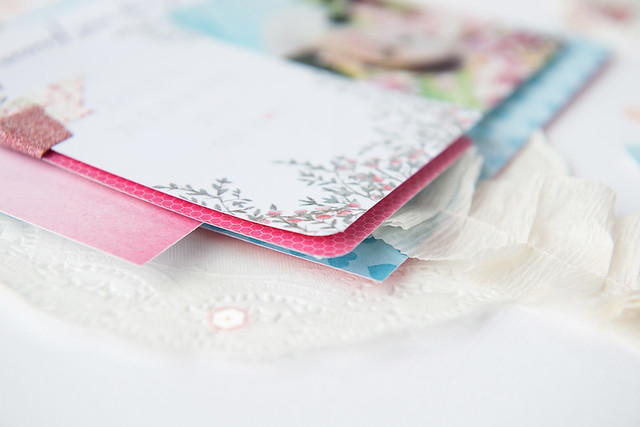
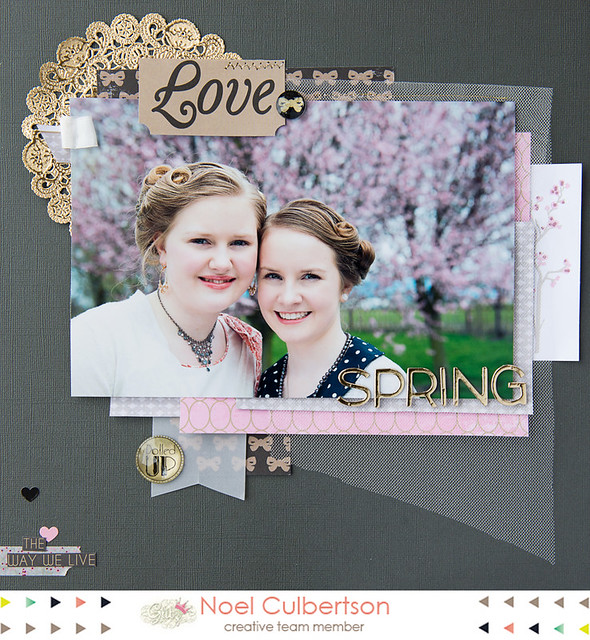
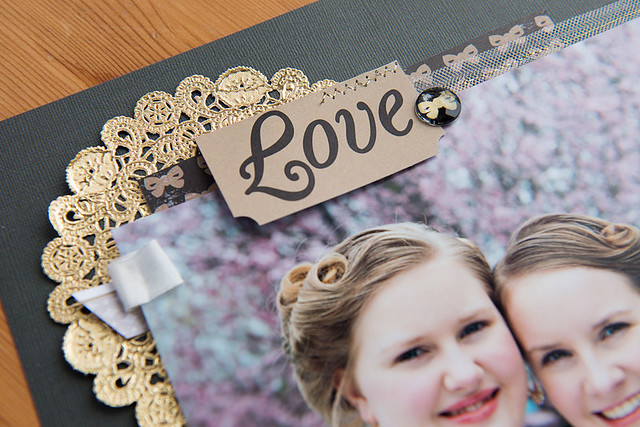
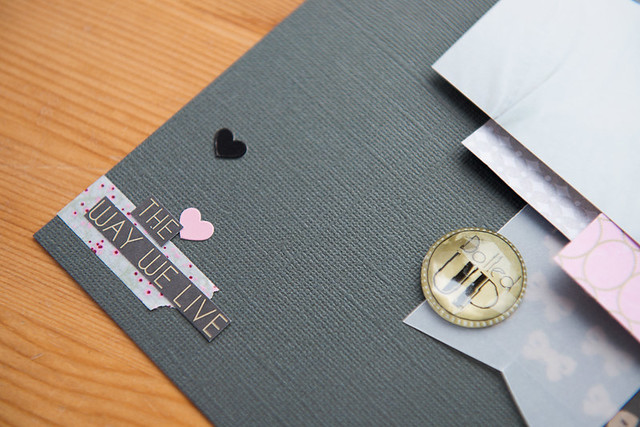
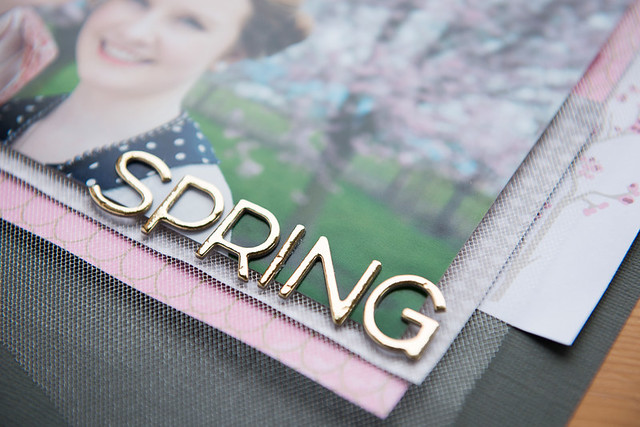
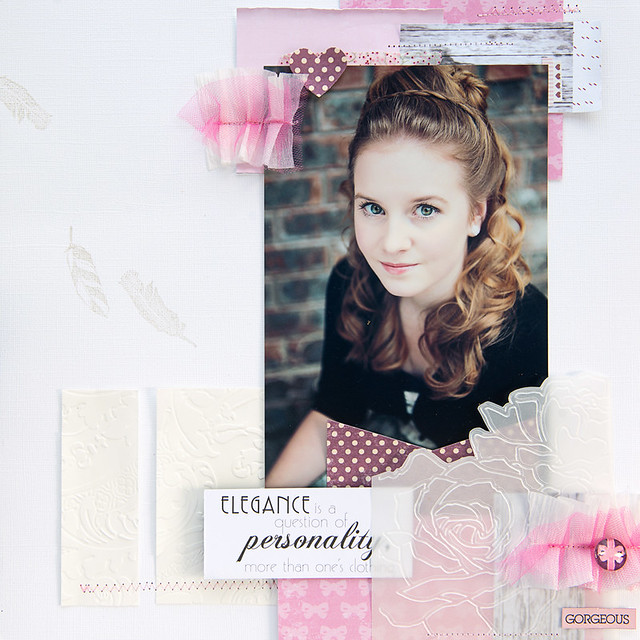
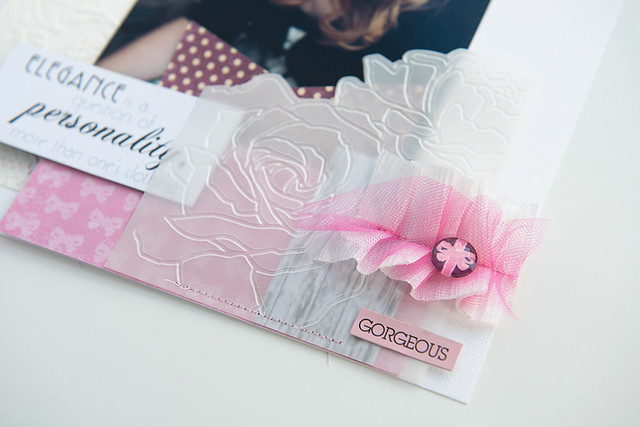
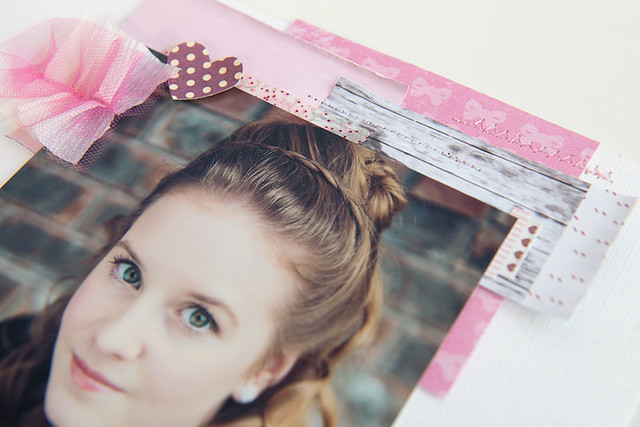
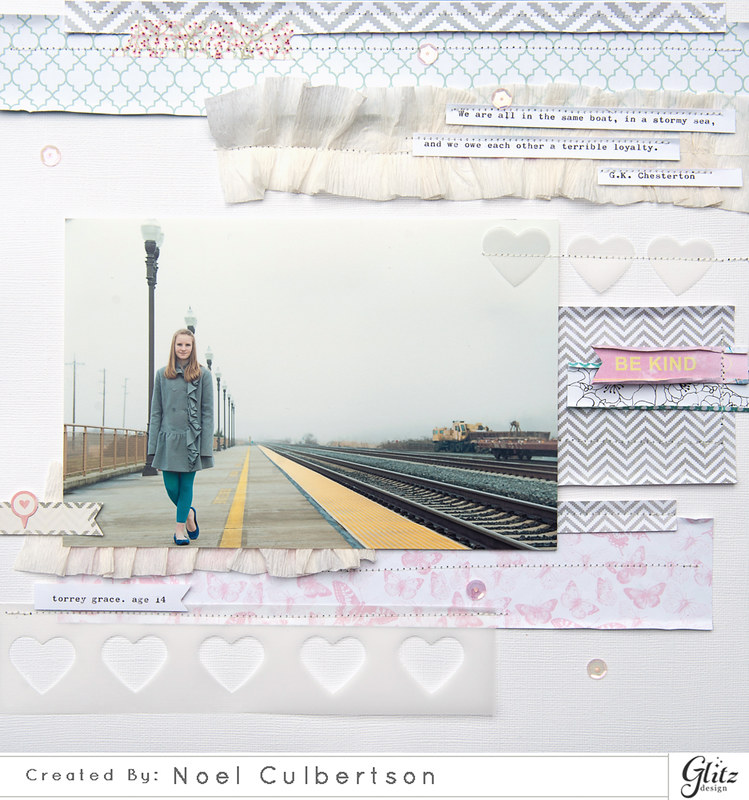
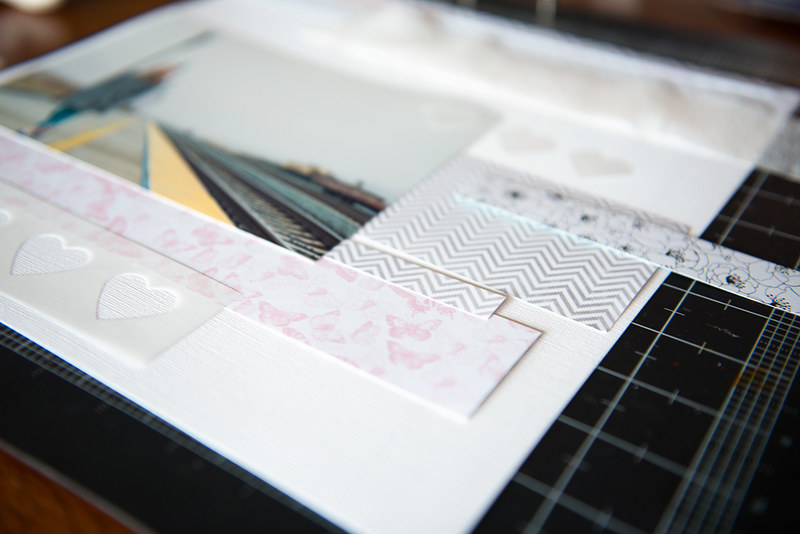
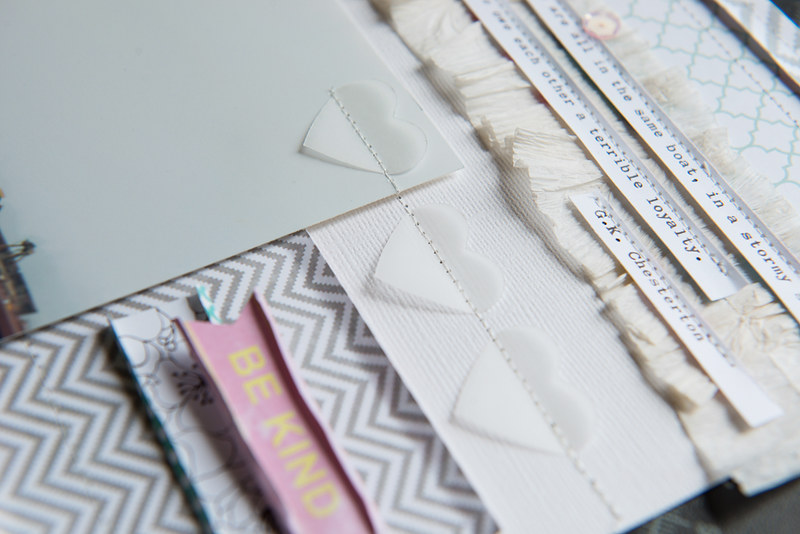
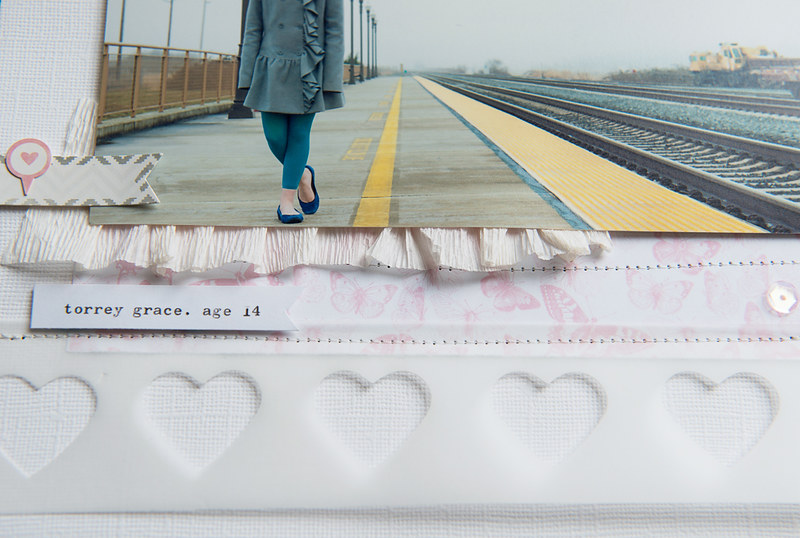
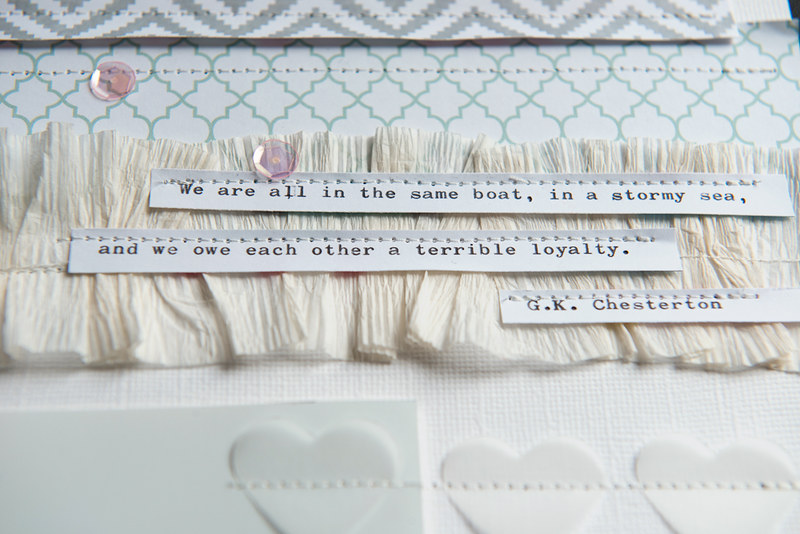
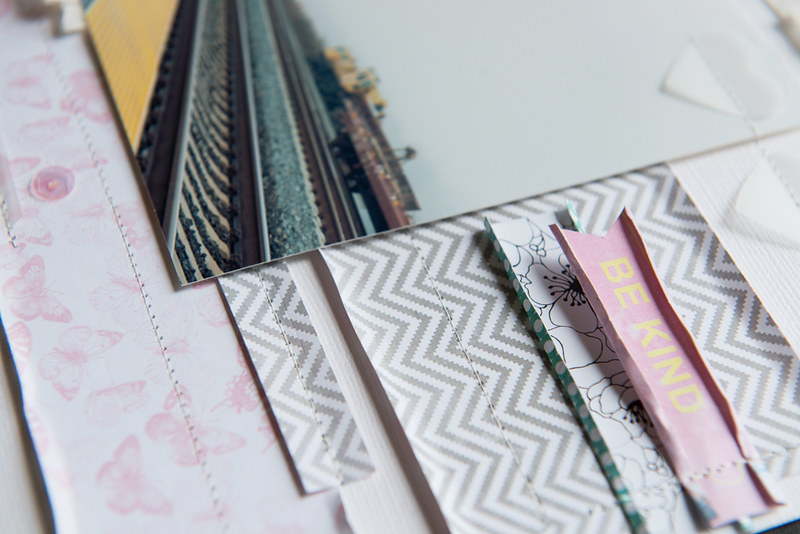
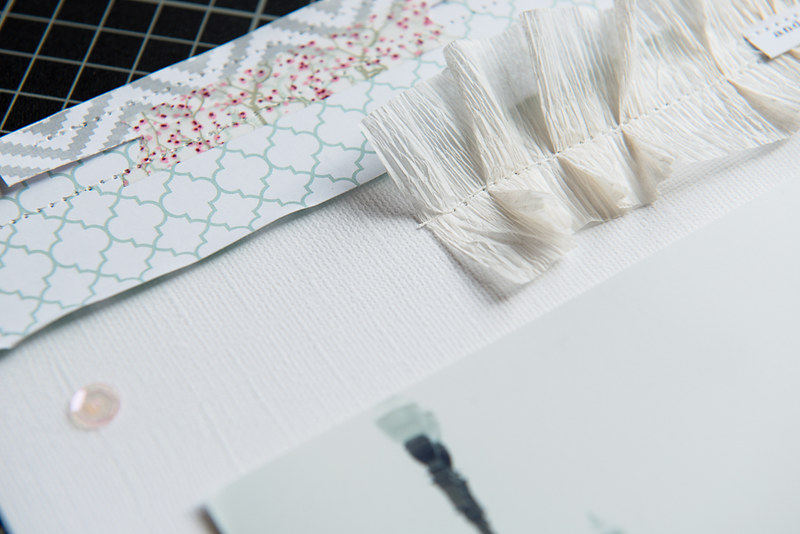
As with all of my projects, I lay the layers in their general location and move them around until I am satisfied with the look. I typed out a favorite quote with our old typewriter, then cut it into strips. Next I sewed some ordinary crepe paper into a ruffle on my sewing machine, then sewed each element onto the layout individually. After each layer was sewn, I ran my finger along each edge to give it a little extra dimension. Finally I added the photos, some stickers and a few sequins to finish it off. 

2014_0830_004a

2014_0830_027a

2014_0830_112a

2014_0830_116a

2014_0830_103a

2014_0830_111a

2014_0830_124a

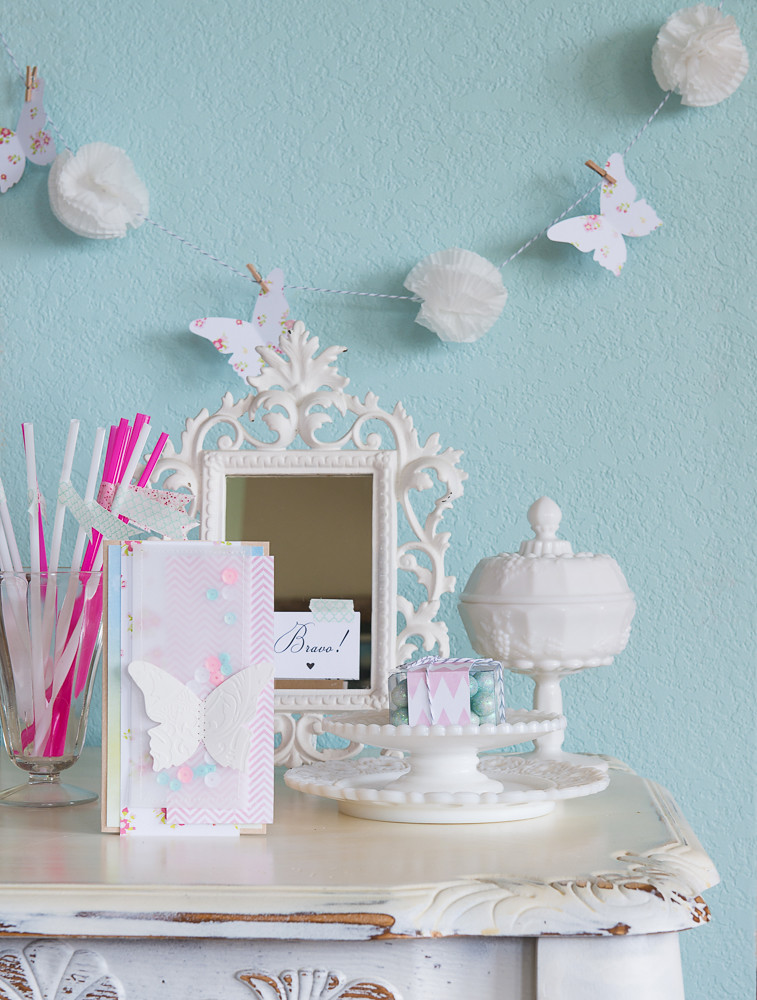
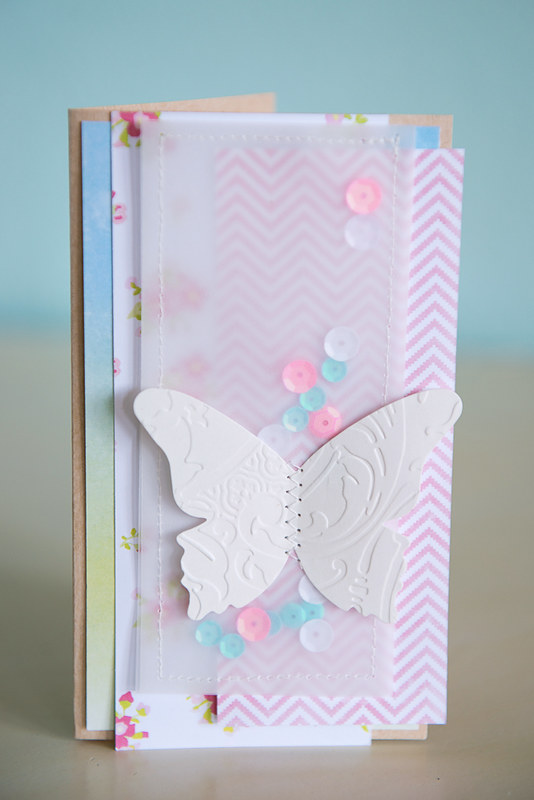
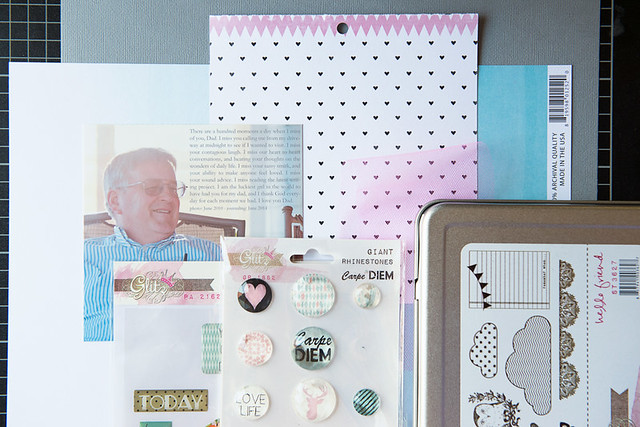
"Be Kind" layout supplies:
Glitz Designs "Brightside" patterned papers: Butterflies, Bits & Pieces
Glitz Designs "Carpe Diem" patterned paper: Brocade
Glitz Designs "Brightside" 6x6 paper pad
Glitz Designs "Brightside" Alphas & Accents sticker sheet
Glitz Designs "All Dolled Up" washi - cherries
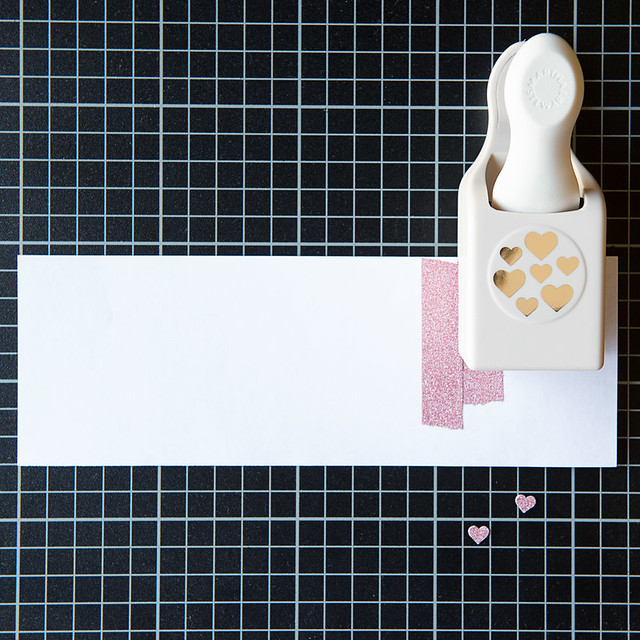
other: cardstock, vellum, sequins, crepe paper, heart punch

Friday, August 15, 2014

Little Moments - Little Vignettes

Happy Friday Glitz friends! For this week's Sparkle & Shine feature I decided to do a layout with four little vignettes mixing and matching embellishments from four gorgeous Glitz lines. A while back we took a few photos in front of an old aqua colored building we came across on the waterfront. 


2014_0807_005b

The striking background in the photos was a natural fit with the colors in the "Felicity" and "Brightside" so I used the 6x6 paper pads from both lines to ground the photos on the white background. I  sifted through my supplies and gathered stickers, Whatnots and rhinestones from four lines that complimented the photos. 

Once I'd gathered my coordinating supplies I created four mini vignettes and placed them in a grid pattern on my background cardstock. I stitched on a couple butterflies punched from vellum and added a decorative stitch around two edges.

2014_0807_046a

2014_0807_049a

2014_0807_065a

2014_0807_052a

"You're my Sweetheart" layout supplies:
Glitz Design "Brightside" 6x6 paper pad
Glitz Design "Felicity" 6x6 paper pad
Glitz Design "Brightside" Alphas & Accents sticker sheet
Glitz Design "Felicity" Alphas & Accents sticker sheet
Glitz Design "Black & White" Whatnots
Glitz Design "Carpe Diem" puffy words sticker sheet
Glitz Design "Carpe Diem" giant rhinestones
Glitz Design Washi Tape - silver
other: cardstock, vellum, baker's twine, butterfly punch

Monday, July 14, 2014

On Trend - Sunbursts

Hi there, happy Monday to you all! I love looking through internet galleries filled with inspiring ideas and trends. I've noticed a lot of beautiful pages using sunbursts or rays. I'm sure there is a proper name for the design, but that was the best I could come up with on the spot. Today I used some of the beautiful patterned papers from the newest Glitz Design collections to create a soft sunburst effect.


2014_0701_046b


2014_0701_002a

I'm sure there are a variety of ways to create "rays", the technique I use involves my trusty magnetic mat, ruler and a craft knife. After cutting each ray, I placed it on the background cardstock, rearranging pieces until I was satisfied with the layout. 

2014_0701_025a

2014_0701_065a

2014_0701_093a

After all of the sunburst rays found their final resting places, I added the remaining layers covering the overlapping corners. To create more precise rays, mark a center point in pencil on the back of your paper, then draw lines with each running through the center point.

2014_0701_068a

2014_0701_072a

2014_0701_091a

2014_0701_105a

"Then & Now" layout supplies:
Glitz Design "Felicity" paper: Chevron
Glitz Design "Brightside" papers: Chunky Chevron, Bits & Pieces
Glitz Design "Felicity" 6x6 paper pad
Glitz Design "Brightside" Alphas & Accents sticker sheet
Glitz Design "Black & White" Alphabets & Words sticker sheet
Glitz Design "Black & White" puffy words sticker sheet
Glitz Design washi tape - silver glitter
other: cardstock  vellum, wood veneer people, sequins, chipboard ampersand  

Sunday, July 6, 2014

Summer Parties

Hello there Glitz fans! With summer in full swing we have been crafting decorations for my daughter's 14th birthday party. I can hardly believe that she'll be a high school freshman in just a few months! Time continues to march on! 
 
2014_0626_015a

My daughter asked for a up-to-date version of shabby chic decor. As the hostess of the party, I wanted to keep things simple and fun. The invitations were made by sewing a sequins filled vellum pouch, then layering a variety of "Brightside" papers from the 6x6 paper pad. Cutting strips allows for making several invitations with the same design but different patterned papers. 

2014_0626_175a

2014_0626_242a

2014_0626_242a

2014_0626_142a

I added a few party supplies by adding washi tape flags to straws, wrapping a little patterned paper around a favor box and taping a sentiment to a framed mirror. The garland included pom-poms constructed from white cupcake wrappers, and die cut butterflies. In just under an hour I was able to make all of the decorations we needed for her party.

2014_0626_092a

2014_0626_135b

2014_0626_163a

"Modern Shabby-Chic Birthday Decor" supplies:
Glitz Design "Brightside" paper: Plaid, Chunky Chevron, Bits & Pieces
Glitz Design "Brightside" 6x6 paper pad
Glitz Design wash tapes - mint chain & cherries
other: kraft card stock, vellum, sequins, baker's twine, mini clothes pins

Friday, June 13, 2014

Missing Dad

Hey there! I am here today with a layout featuring a few of the many fabulous Glitz Design embellishments! With Father's Day a few days away, I have been thinking a lot about and missing my dad. This is my second Father's Day without him, and I still miss him as much as ever. Scrapbooking is still a part of the healing process, and brings to mind the precious memories of the past.

2014_0605_009a

I'm a very visual scrapper, and there isn't a lot of pre-planning that goes into my projects. Once I choose the photo, the rest of my project flows from there. I added the journaling to the photo in Photoshop, then printed it off in two sizes to give me more design options. With the photo in hand, I usually compile my primary supplies choosing papers and embellishments that compliment the photo. 

2014_0605_058b

2014_0605_032a

For this layout, I stamped the "Hello Friend" cloud stamps onto the scraps of photo paper leftover from printing, then cut them out by hand. To punch decorative shapes from washi tape, cover a piece of card stock with strips of washi tape in the desired width and simple punch. Mixing and matching embellishments from six different lines allowed me to add lots of tiny hearts in a variety of tones. Finishing the layout off with a couple of rolls of the chevron Roller Doodle draws the eye back to the photo again. 

2014_0605_075a

2014_0605_079a

2014_0605_097a

2014_0605_086a

"Enjoy the Little Things" layout supplies:
Glitz Design "Felicity" paper: Floral
Glitz Design "Brightside" 6x6 paper pad
Glitz Design "Brightside" Alphas & Accents sticker sheet
Glitz Design "Felicity" Alphas & Accents sticker sheet
Glitz Design "Black & White" Alphabets & Words sticker sheet
Glitz Design "Black & White" Titles & Accents sticker sheet
Glitz Design "Hello Friend" rubber stamps
Glitz Design Tiny Roller Doodle - chevron
Glitz Design "77" puffy words
Glitz Design "Carpe Diem" giant rhinestones
Glitz Design washi tape - pink glitter
other: cardstock, doily, mist, ink, tulle and paper clip

Thursday, May 22, 2014

I love you a lot


Glitz Design Bits & Pieces are sized for Project Life albums, however these cute little accents are versatile enough to use on all sorts of paper crafting projects. On this project I used a journaling card from the new "Felicity" line Bits & Pieces paper. I cut it into a square, then cut the square on the diagonal twice to make triangles. Then I layered the smaller quote on the larger ombre journaling spot. Adding a little of the brand new pink glitter washi tape added a fun splash of sparkle.

To make the crepe ribbon, I started with an ordinary roll of crepe paper for party decor and ruffled it by hand as I ran it through my sewing machine. On one end I layered some tulle on top of the crepe paper for a pop of color. 

2014_0515_030aa

2014_0515_036a

2014_0515_054a

2014_0515_083a

2014_0515_096a

"I love you a lot" layout supplies:
Glitz Design "Felicity" papers: Bits & Pieces, Honeycomb
Glitz Design "Felicity" 6x6 paper pad
Glitz Design "Felicity" washi tape - pink glitter
Glitz Design "All Dolled Up" washi tape - cherries
other: cardstock, doilies, sequins, date stamp, ink 

Saturday, May 17, 2014

Spring Love

Spring is in the air here in Washington State and the flowering trees are all abloom. The precious pink patterns and cherry blossoms in the "All Dolled Up" collection were a perfect to highlight the season. I layered four patterned papers, a shiny gold doily and a strip of tulle, then folded the "love" tag over and tucked in behind the top patterned paper. After stitching the tag and tulle in place I added the photo along with the rhinestones and stickers. The sentiment in the bottom corner was cut from a scrap of one of the "Bits & Pieces". The gold accents place in a visual triangle bring eye across the project and bring an extra sparkle to the soft colors of spring.

Don't forget to check out the new Glitz Design website for all of this month's giveaway information!

2014_0508_015b

2014_0508_032a

2014_0508_058a

2014_0508_074a

2014_0508_084a

Glitz Design "All Dolled Up" papers: Cherries, Bits & Pieces
Glitz Design "All Dolled Up" 6x6 paper pad
Glitz Design "All Dolled Up" Titles & Accents sticker sheet
Glitz Design "All Dolled Up" washi tape - cherries
Glitz Design "All Dolled Up" Giant Rhinestones
other: cardstock, gold doily, tulle, vellum, gold alphabet, ribbon

Friday, May 2, 2014

Pattern, Color, Texture, Shine


Recently I rummaged through my stash and pulled out a package of vellum. I am loving the softness it adds to projects. For this week's embossing theme I dry embossed a rose pattern onto vellum, and cut around the outline of the roses for extra dimension. I made the ribbon by stacking a folded piece of pink tulle on top of a strip of ordinary party crepe paper, then ruffled it as I ran it through my sewing machine. To finish it off I stitched on a couple strips of embossed cardstock and patterned paper then stamped a few platinum feathers.

2014_0425_013a

2014_0425_032a

2014_0425_046a

2014_0425_069a

"Elegance" layout supplies:
Glitz Design "All Dolled Up" papers: Bits & Pieces
Glitz Design "All Dolled Up" 6x6 paper pad
Glitz Design "Black & White" 6x6 paper pad 
Glitz Design "All Dolled Up" Titles & Accents sticker sheet
Glitz Design "All Dolled Up" Alphabets & Words sticker sheet
Glitz Design "All Dolled Up" Giant Rhinestones
Glitz Design "All Dolled Up" washi tape - Cherries
Glitz Design "Finnley" rubber stamps 
other: card stock, vellum, crepe paper, tulle, platinum ink, embossing folder, embossing plate, Big Shot 

LinkWithin

Blog Widget by LinkWithin